
How To Install Grab Bars In Bathroom: A Safe, DIY Guide

Before you even think about drilling a single hole, let’s [...]
Before you even think about drilling a single hole, let’s talk prep. Getting this initial stage right is everything when it comes to installing a grab bar. Honestly, this is where most DIY projects go wrong. A rock-solid grab bar is a lifeline; a poorly installed one is a serious hazard. It all comes down to choosing the right bar and knowing exactly what's behind your wall.
Preparing For A Rock-Solid Grab Bar Installation
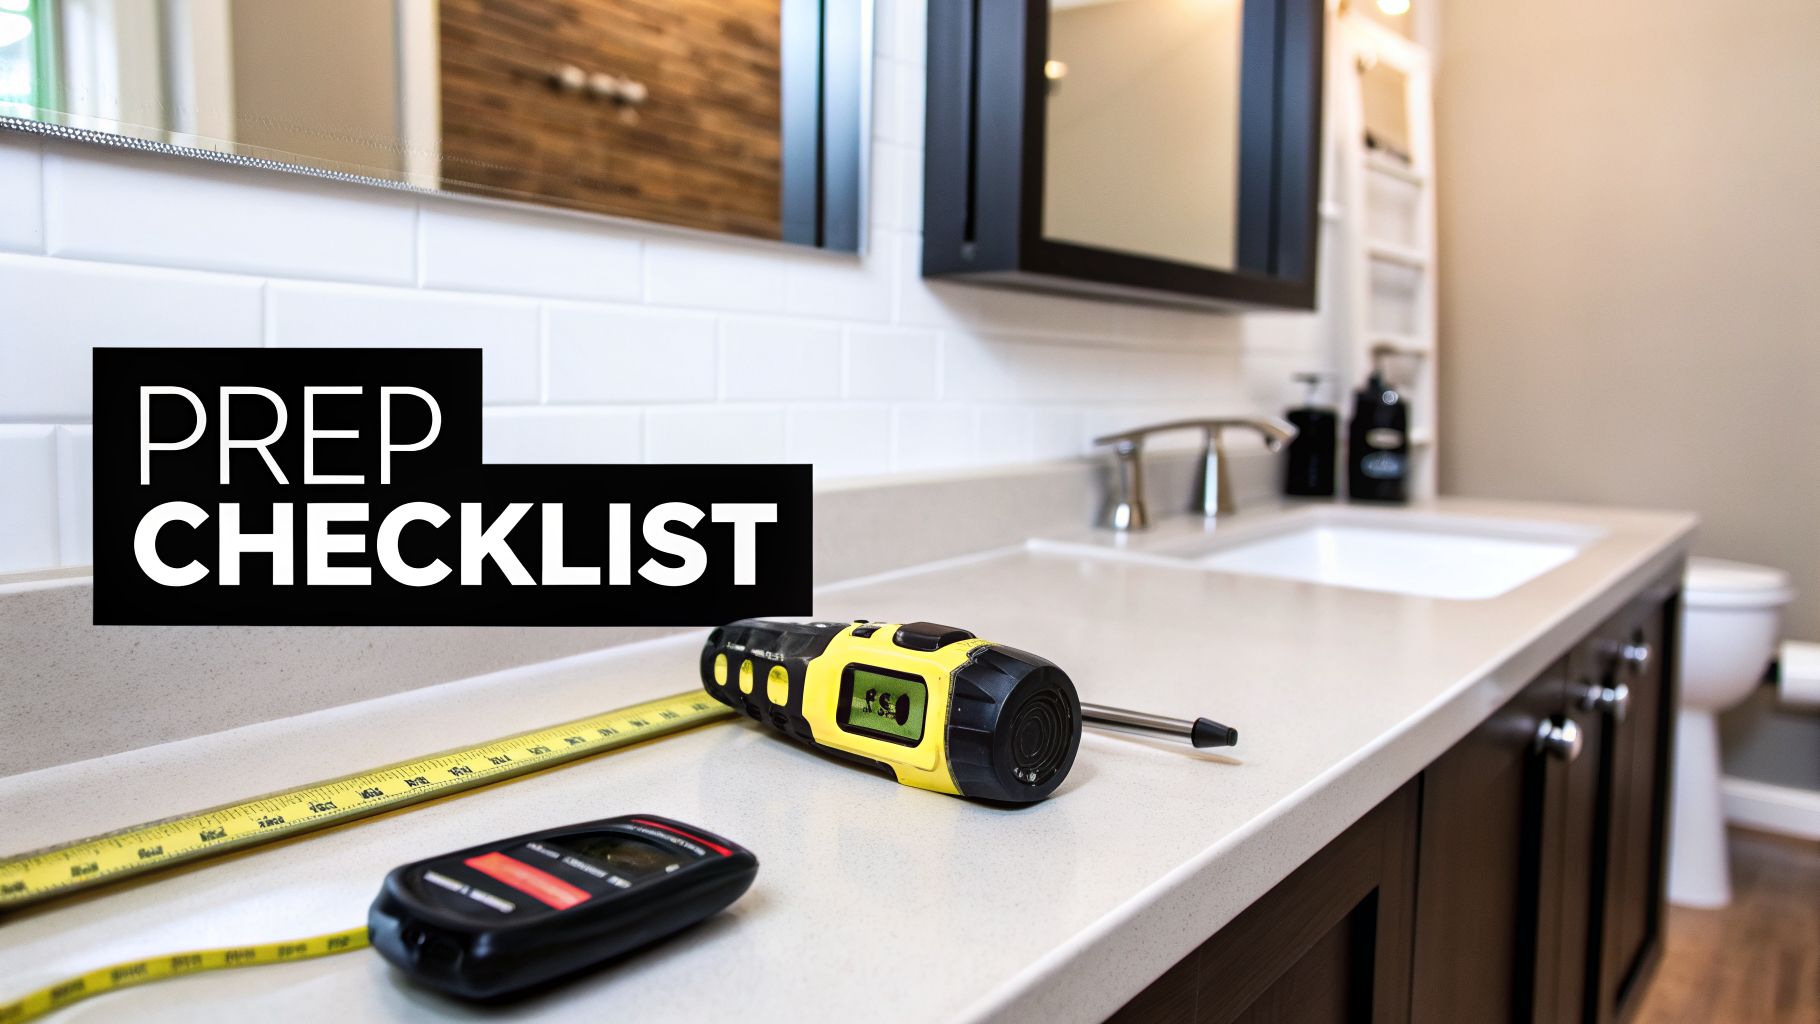
The work you do before you pick up the drill is what separates a secure installation from a disaster waiting to happen. It's not just about having tools laid out; it's about thinking through the user's needs and understanding your bathroom's construction. Rushing here can lead to a wobbly bar or, worse, a chunk of your wall getting ripped out.
This process starts with picking the right equipment. Before you get started, it's crucial to select the best grab bars for showers to ensure you have a safe, durable product to begin with. Think about material, grip, and finish—these details really matter.
Selecting The Right Grab Bar
Don't just grab the first bar you see at the store. They aren't all the same, and your choice has a direct impact on safety and daily use. Look past the style and zero in on the features that provide real, dependable support.
- Length and Diameter: Bars come in lengths from 12 to 48 inches. A 24-inch or 36-inch bar is perfect for horizontal placement in a tub or shower, while a shorter 16-inch bar mounted vertically is great for stability when stepping in or out. Look for a standard diameter of 1.25 to 1.5 inches—that’s the sweet spot for a comfortable, firm grip for most adults.
- Material and Finish: Stainless steel is the undisputed champion here. It’s tough and won't rust. While finishes like brushed nickel look great, a peened or textured finish offers a much better non-slip grip, which is a must-have in a wet, soapy environment.
- Weight Capacity: This is non-negotiable. Always check the manufacturer's rating. A properly installed grab bar must support a minimum of 250 pounds. Don't even consider a bar that doesn't meet this baseline safety standard.
Assembling Your Essential Tool Kit
Having all your tools ready will save you a ton of frustration and help you do the job right the first time. You don't need a professional workshop, just a few key items.
Here’s your must-have checklist:
- A quality electronic stud finder
- A reliable power drill and a good set of drill bits
- A level (nobody wants a crooked bar)
- A tape measure
- A pencil or marker
- The grab bar itself and its mounting hardware
Pro Tip: I've seen it a hundred times—the screws that come in the box are often short and cheap. Do yourself a favor and spend a few extra bucks at the hardware store for high-quality, corrosion-resistant stainless steel screws. It’s a small investment for a massive upgrade in security.
The Most Important Step: Locating Wall Studs
I can't stress this enough: you must anchor the grab bar directly into wall studs. Drywall alone will not hold. Relying on hollow-wall anchors is a dangerous shortcut that will fail when you need it most.
Grab your electronic stud finder and slowly scan the wall where you plan to install the bar. Mark the center of every stud you find. In most homes, studs are spaced 16 inches apart on center, which can help you predict where the next one will be. This one step is the absolute foundation of a safe and secure grab bar.
Just a quick note: all our products are private pay, as we do not work with insurance. This allows us to offer a huge selection of top-quality equipment directly to our customers without any red tape. You can see our complete collection of bathroom safety gear in our online shop.
Where to Place Grab Bars for Maximum Impact
Installing a grab bar correctly is only half the battle. Where you put it is just as crucial. Even the most securely mounted bar is useless if it’s out of reach when someone starts to lose their balance.
This isn’t about guesswork. It’s about being strategic and thinking through how a person actually moves in the bathroom—sitting, standing, stepping in and out of the tub. The right placement turns a simple steel bar into a lifeline.
The demand for these safety aids is telling. The market for bathroom grab bars was valued between $586.2 million and $663.44 million in 2025 and is expected to climb past $1 billion by 2033. It's clear that more and more families are recognizing how critical these devices are for home safety. If you're interested in the market trends, you can read a detailed report on the bathroom grab bar industry growth on datainsightsmarket.com.
Positioning Grab Bars Around the Toilet
For many, simply getting on and off the toilet is a moment of high instability. A well-placed grab bar provides a steady handhold that makes all the difference, restoring confidence and independence.
The best setup usually involves two bars. I recommend installing one horizontal bar on the wall closest to the toilet, positioned about 33 to 36 inches off the floor. Make sure it's at least 24 inches long so it’s easy to grab from a seated position. If you can, add a second bar on the wall behind the toilet to give someone leverage for pushing up. Together, they create a solid, multi-point support system.
The most important tip I can give you is to personalize the placement. The ADA guidelines are a fantastic starting point, but they're not one-size-fits-all. Before you drill a single hole, have the person who will be using the bar sit down and stand up. Watch where their hand naturally goes for support. That’s your spot.
Strategic Placement in the Shower and Tub
The bathroom's "danger zone" is undeniably the shower or tub. Wet, slippery surfaces are a recipe for falls. Installing a few grab bars here creates a network of safety that supports every single movement.
Here’s the setup I’ve seen work best for countless clients:
- For Getting In and Out: A vertical bar is a game-changer. Mount an 18- to 24-inch bar just outside the shower door or curtain. This gives a firm grip for that tricky moment when stepping over a tub wall or shower curb.
- For Inside the Shower: Run a long horizontal bar along the main wall. A 24- to 36-inch bar mounted 33 to 36 inches from the floor offers continuous support whether you're standing, washing your feet, or just shifting your weight.
- For the Faucet Wall: A shorter bar near the faucet controls is incredibly helpful. It gives you something to hold onto while reaching to adjust the water temperature, preventing that momentary loss of balance.
A quick reference guide can help you visualize these common placements. For the toilet, a horizontal bar on the side wall at 33-36 inches from the floor helps with sitting and standing. For the shower or tub entry, a vertical bar provides stability. Inside, a horizontal bar on the main wall and another near the faucet controls, both at 33-36 inches high, offer continuous support. These are standard recommendations based on ADA guidelines and years of practical experience, but always adjust for the specific user's needs.
Mixing It Up for Better Safety
Don't feel locked into just one orientation. The most effective safety solutions often use a mix of vertical, horizontal, and even angled bars. A vertical bar is perfect for the pulling motion of standing up, while a horizontal bar is better for providing stability as you move side-to-side. This combined approach creates a far more adaptable and secure environment.
This level of bathroom safety is a key part of a larger mobility plan. For those who need support throughout their home, it's just one piece of the puzzle. You might also want to explore our guide on choosing walkers and rollators in St. Petersburg, FL to build a complete support system.
Please remember, all our equipment is available for direct purchase. We do not accept insurance, which allows us to offer simple, transparent pricing and get you the products you need right away, without the typical delays.
Installing Grab Bars On Different Wall Types
A grab bar is only as strong as its connection to the wall. The secret to a rock-solid installation that can support someone’s full weight lies in understanding what’s behind your bathroom’s surface. Your wall material dictates the entire process—the tools you'll need, the hardware you’ll use, and the technique you’ll follow. Getting this part wrong isn't an option, as a poorly mounted bar is far more dangerous than no bar at all.
I'm going to walk you through the proper way to install grab bars on the most common bathroom surfaces. We’ll cover the best-case scenario of drywall with wood studs, the more delicate approach needed for tile, and the heavy-duty methods for concrete or block walls. Each one demands a specific approach to guarantee it won’t budge.
This diagram shows the typical thought process for figuring out where grab bars will do the most good, starting around the toilet and then moving to the tub and shower.

This flow from toilet to tub to shower pinpoints the most common areas where people feel unstable, helping you prioritize your installation for the biggest safety impact.
Mounting Into Drywall With Wood Studs
This is the gold standard for installing a grab bar, period. Anchoring directly into the solid wood framing gives you the most secure and reliable support possible. I’ve seen it time and again—the most common DIY mistake is missing the stud, so take your time here.
First, grab an electronic stud finder and locate the center of the studs where you plan to mount the bar. Mark both edges and the center of each stud with a pencil. Then, position the grab bar, use your level to make sure it's perfectly straight, and mark the screw hole locations on your wall.
Next, you'll drill pilot holes through the drywall and into the center of the studs. The pilot hole needs to be slightly smaller than the diameter of your mounting screws. This is a crucial step that keeps the wood from splitting and makes it much easier to drive the screws in. Finally, secure the bar with high-quality, corrosion-resistant stainless steel screws that are long enough to bite at least 1.5 inches into the wood stud itself.
The Right Way To Install On Tile
Drilling into a tiled wall can feel intimidating, but it's completely manageable if you have the right tools and a bit of patience. The biggest fear is cracking a tile, and you can avoid that with a specialized drill bit and a steady hand.
You still absolutely must anchor into the studs behind the tile. Your stud finder might have a harder time getting a good reading through dense ceramic or porcelain. Sometimes, you can gently tap on the wall to hear the audible difference between a hollow spot and the solid thud of a stud.
The key to this job is a glass-and-tile or diamond-tipped drill bit. Don't even think about using a standard bit; it will slip, overheat, and almost certainly crack your tile.
- Mark Your Spot: Place a few strips of masking tape over the drill location. This gives the bit some grip to start and keeps it from "walking" across the slippery tile surface.
- Drill Slowly: Start drilling at a very low speed, applying gentle, steady pressure. Whatever you do, do not use the hammer function on your drill. You’re essentially grinding a clean hole through the tile, not punching it.
- Cool It Down: Keep a small cup of water or a spray bottle handy to cool the drill bit every 15-20 seconds. Overheating will ruin the bit and can cause the tile to crack from thermal shock. Once you’re through the tile, switch to a standard wood bit to drill the pilot hole into the stud.
One of the most common pitfalls I see is people applying way too much pressure when drilling through tile. Let the drill bit do the work. Pushing too hard is a surefire way to hear that dreaded cracking sound, turning a simple job into a much bigger repair.
Before you drive the screws, squeeze a small bead of silicone sealant into the holes. This creates a waterproof seal, preventing moisture from getting behind the tile and causing rot or mold down the road. You can find more practical home safety tips by exploring our medical equipment news and blog.
Securing Grab Bars To Concrete Or Block Walls
Basement bathrooms or homes with masonry construction often have concrete or cinder block walls. These surfaces provide incredible strength, but they require specific, heavy-duty anchors to get a secure mount. Your standard wood screws are useless here.
For this job, you'll need a hammer drill and a correctly sized masonry drill bit. After you mark your mounting holes, use the hammer drill to create holes to the exact depth and diameter specified by your anchor manufacturer.
The best hardware for this job are sleeve anchors or lead shield anchors. After drilling, clean all the dust and debris out of the hole, then gently tap the anchor in with a hammer until it's flush with the wall. As you tighten the screw or bolt, the anchor expands, creating an incredibly tight friction fit inside the masonry that won’t pull out.
A Note On Hollow-Wall Anchors
So, what do you do if there's no stud exactly where you need one? While mounting to a stud is always the best choice, some modern heavy-duty hollow-wall anchors can be a viable alternative—but only if you use the right kind.
Forget those little plastic anchors you use for hanging pictures. For a grab bar, you need a specialized system like a heavy-duty toggle bolt or a wall anchor specifically engineered for this kind of load. These systems work by distributing the weight over a much wider area of the drywall.
If you must go this route, always check the weight rating of the anchor system, which should be at least 250 pounds. These should be considered a last resort. I would not recommend them for situations where someone will be putting their full body weight on the bar, like pulling themselves up from a toilet.
Just a quick reminder: our services and products are direct-to-consumer and private pay. We don’t work with or bill insurance, which allows us to offer straightforward pricing and get you the equipment you need right away.
Testing And Maintaining Your Grab Bars
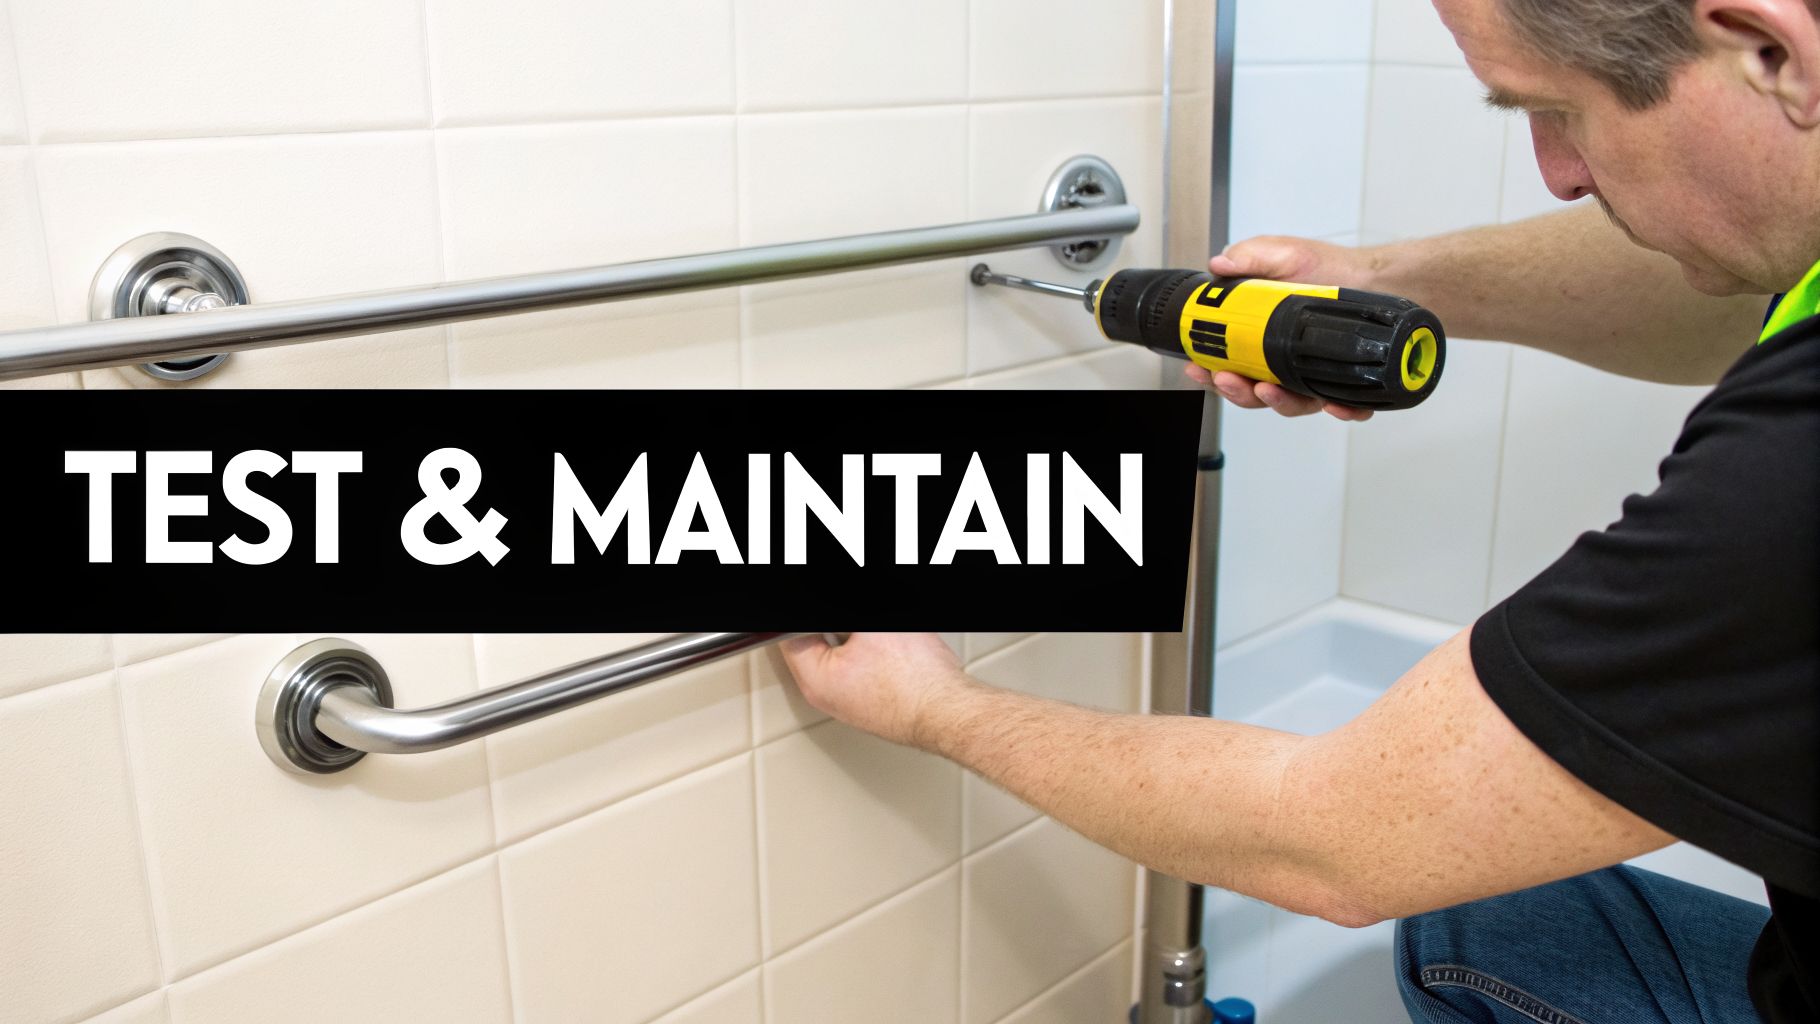
Alright, the last screw is in. Before you put your tools away, there’s one last crucial step: the stress test. An installation isn’t truly done until you’ve made sure it can handle the real-world forces it was designed for.
Skipping this part is a rookie mistake I see all too often. You need to be 100% certain that the bar, its hardware, and the wall are working together as a single, rock-solid unit. This is how you confirm you’ve installed a life-saving device, not a potential hazard.
How To Properly Test Your New Grab Bar
Just looking at it won’t cut it. You have to simulate the sudden, heavy pressure the bar might face during an actual slip or when someone puts their full weight on it to stand up. What you’re looking for is any sign of movement or instability.
Start by gripping the bar firmly in the middle with both hands. Slowly and deliberately, apply your full body weight. Pull on it, push on it, and try to lean from a few different angles. Be firm, but don't violently jerk it—that’s not a realistic test of how it will be used.
Next, focus on the ends, right near the mounting plates. This is where an installation is most likely to fail.
- Pull straight out from the wall.
- Push directly down toward the floor.
- Tug firmly upward.
The bar should feel like it's part of the wall itself. There should be absolutely zero give, wiggle, or creaking sounds. If you feel even the slightest movement, stop immediately. You'll need to take the bar off and figure out what went wrong. Usually, it's a screw that just missed the center of the stud or an anchor that didn’t expand properly.
Creating A Long-Term Maintenance Routine
A grab bar is not a "set it and forget it" piece of hardware. Think of it like any other piece of safety equipment in your home—it needs a quick check-up every now and then to make sure it’s still as secure as day one. A simple routine every few months is all it takes.
This quick list will only take a couple of minutes but provides lasting peace of mind:
- Check for Tightness: Give the bar a firm wiggle. Daily use can cause tiny shifts over time, potentially loosening the screws. If you feel any play at all, grab your screwdriver and gently snug up the mounting screws.
- Inspect the Wall: Take a close look at the wall around the mounting plates. You’re searching for hairline cracks in the tile grout or drywall, or any sign that the wall itself is getting compressed. These are early warning signs of an unstable installation.
- Keep It Clean: Wipe the grab bar down with a non-abrasive cleaner. This is especially important for textured or “peened” finishes, where soap scum can build up and make the gripping surface dangerously slick.
A secure grab bar is one of the most effective tools for preventing falls, which are a leading cause of injury among older adults. Consistent maintenance ensures this simple device continues to provide reliable protection day after day, year after year.
Remember, all our bathroom safety products are available for direct purchase. We do not accept insurance, which allows us to provide clear, upfront pricing and immediate access to the equipment you need without any delays or paperwork. This straightforward approach ensures you can make your home safer right away.
When to Call in a Professional Installer
Look, I’m a big believer in a good DIY project. But I’m also a big believer in knowing your limits, especially when safety is on the line. Installing a grab bar isn't like hanging a picture frame; if it fails, someone could get seriously hurt. A wobbly bar is more dangerous than no bar at all because it gives a false sense of security.
So, when should you put down the drill and pick up the phone? Recognizing the red flags is the smartest thing you can do for yourself or your loved ones.
Red Flags That Mean You Need a Pro
Some installations are straightforward, but others can get tricky fast. If you run into any of these situations, it's a clear sign to call in someone with the right tools and experience.
- You Can't Find a Stud: Your stud finder is beeping erratically, or the wall just feels…hollow. Don't guess. A pro can find that hidden framing or, more importantly, knows how to open the wall and install proper blocking for a rock-solid anchor point.
- Fiberglass or Acrylic Surrounds: These shower and tub walls are notoriously thin and prone to cracking. One wrong move with a drill bit and you've got a much bigger, more expensive problem on your hands. Experts have the right techniques to drill cleanly and secure the bar to the studs behind the surround.
- Lack of Proper Tools: Trying to muscle through porcelain tile with a standard drill bit is a recipe for frustration and a pile of shattered tile. You need specific tools like diamond-tipped bits for tile or a hammer drill for concrete. If you don't have them, the cost of a pro is often less than buying the tools for a one-time job.
- You're Just Not Confident: It's okay to feel overwhelmed. If you're second-guessing every step, that's your gut telling you to stop. The peace of mind that comes from a guaranteed, secure installation is worth every penny.
The Value of a Professional Installation
Hiring a pro is an investment in safety, plain and simple. We see this with other critical home tasks, too—a quick read on Why You Shouldn't DIY a Shut Off Valve Installation shows that some jobs are best left to those with specialized knowledge. A grab bar is a medical safety device, not a towel rod. It has to be able to support a person's full body weight during a slip.
The biggest risk of a DIY mistake isn't just a loose grab bar; it's total failure. A professional installer does more than just sink screws. They assess the wall's integrity and ensure the entire system—the wall, the anchors, and the bar—is structurally sound.
Of course, cost is a real consideration. Data from the U.S. Department of Housing and Urban Development shows the average out-of-pocket cost is around $175 per unit, which can cause about 26% of homeowners to hesitate. But it’s crucial to frame that cost as a one-time investment to prevent a fall, which could lead to far more devastating physical and financial consequences.
If you're in Pinellas County and need a hand, we can help. At Affinity Home Medical Equipment, we work with trusted local installers who can get the job done right. Get in touch with our team to talk about your project and make sure your bathroom is as safe as it can be.
Please note that all our products and services are private pay, as we do not work with insurance. This allows us to offer transparent, upfront pricing and get you the equipment you need without delays.
Answering Your Grab Bar Installation Questions
It's completely normal to have a few questions after you've done your research. In fact, it's a good sign—it means you're taking this seriously. Let's walk through some of the most common things people ask me about grab bar installation so you can feel confident in your setup.
Getting the details right is what separates a decorative bar from a life-saving one. When properly anchored into wall studs, a good grab bar is engineered to support up to 250-300 pounds of force. That's the standard we're aiming for.
How Many Grab Bars Do I Really Need?
There’s no magic number here. The right answer depends entirely on the bathroom layout and, more importantly, the person who will be using them. The best approach is to think about "zones" where a slip is most likely.
For most tub or shower areas, a two-bar configuration is a fantastic and effective starting point:
- Place one vertical bar near the shower entrance. This is for that crucial moment of stepping in and out over the tub ledge.
- Install one horizontal bar along the main wall. This gives you something to hold onto while standing, turning, or washing.
If getting on and off the toilet is also a challenge, adding one or two bars there will round out your safety setup. The goal isn't just to add hardware; it's to provide a secure handhold at every point of transition.
Can You Install Grab Bars In A Fiberglass Tub Surround?
Yes, you absolutely can, but this is a job that demands extra care. You can't just attach the bar to the fiberglass shell. It's simply not strong enough to hold any real weight and will crack under pressure.
To do it right, you have to drill through the fiberglass and anchor the grab bar's screws directly into the wood studs behind the wall. This requires a specific type of drill bit that won't splinter the surround and a very steady hand. If that sounds intimidating, this is one of those times when calling in a professional is a very smart move.
The biggest mistake I see people make is confusing a grab bar with a towel rack. This is especially true for those suction cup "grab bars"—please avoid them. They create a false sense of security and are known to fail without warning, which is often more dangerous than having no bar at all.
What's The Right Height For A Grab Bar?
The official ADA guideline for a horizontal grab bar is a height between 33 and 36 inches from the floor. This is a great, universally accessible range that works for most adults.
But in your own home, you can customize. The best height is what’s most comfortable and natural for the primary user. Before you drill a single hole, have them stand where the bar will go. Ask them to reach out for support and see where their hand naturally falls. Adjusting the placement by an inch or two to match their needs can make all the difference.
You can find more answers to specific questions on our main FAQ page.
Just a friendly reminder, we operate on a private pay basis. We don't accept or process insurance claims, which allows us to keep our pricing straightforward and get you the equipment you need right away.
Here at Affinity Home Medical Equipment, our entire focus is on helping you make your home a safer place. Whether it’s grab bars, shower chairs, or other safety aids, our team has the experience to guide you to the right products. Come see us in person or online to find practical solutions that protect your independence.
Share This Article

Written by : lori@netcodesign.com
Follow Us
Latest Articles

October 14, 2026

October 14, 2026

October 14, 2026
