
How To Use A Transfer Board: How To Use A Transfer Board For Safer Mobility

A transfer board acts as a simple bridge, connecting two [...]
A transfer board acts as a simple bridge, connecting two surfaces like a wheelchair and a bed. This allows someone to slide across instead of having to lift themselves up. The basic idea is to tuck the board securely under one hip, place the other end on the surface you're moving to, and then use your arms to scoot across in a few short, controlled movements. It's a method that dramatically boosts safety and independence, especially for those with limited strength in their lower body.
How To Use A Transfer Board Safely
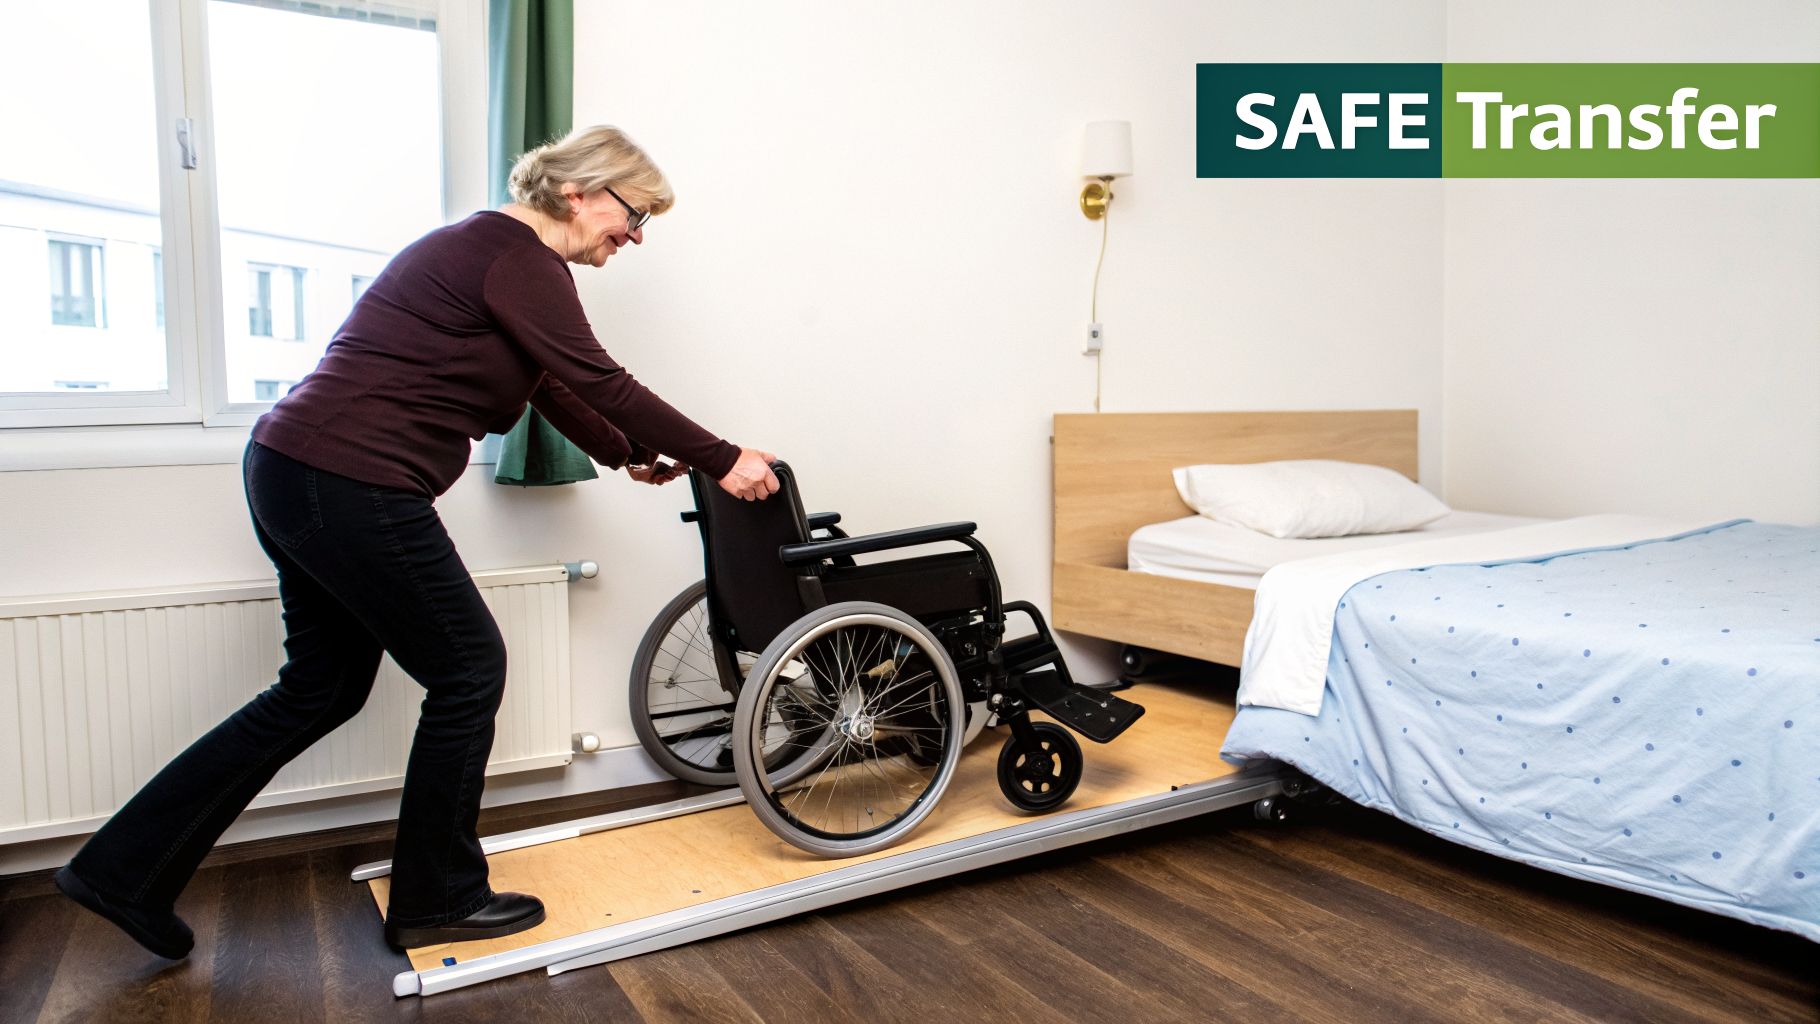
A transfer board, which you might also hear called a slide board, is a brilliantly simple tool that makes moving between surfaces much easier and safer. For anyone dealing with conditions that affect leg strength—like a spinal cord injury, multiple sclerosis, or recovery from surgery—this piece of equipment can be a real game-changer. It creates a sturdy, reliable bridge, removing the need for risky lifting and easing the physical burden on both the user and their caregiver.
The whole principle is about creating a smooth, level path. Instead of having to stand and pivot, the user can simply slide their body along the board. This controlled movement is key; it minimizes the risk of falls and protects the skin from the shearing or friction that can happen during unassisted transfers.
Why Safety Comes First With Every Transfer
Learning to use a transfer board is about more than just convenience—it’s a critical safety skill. If the technique isn't right, it can lead to slips, falls, or even skin damage. That’s why understanding the correct process is so important for building confidence and making sure every move is secure.
Transfer boards have completely changed the game for safe patient handling at home. In fact, studies have shown that using a transfer board correctly can reduce fall risk by an incredible 46%. That's a massive improvement in home safety.
This focus on proper technique isn't just for home use, either. Mastering skills like this is essential for patient well-being and is often a key part of how to pass the CNA skills test, proving professional competence in a clinical environment.
Before you even think about starting the transfer, take a moment to scan the area. Are the surfaces stable? Are the wheelchair brakes locked? Is the path completely clear? Even small details, like making sure clothing isn't bunched up, can make a huge difference in how smoothly things go.
Before you get started, running through a quick mental checklist ensures every transfer is as safe as possible. Think of it as your pre-flight check for movement.
Transfer Board Safety Checklist Before You Begin
Running through these key points can prevent the most common transfer-related accidents.
- Surface Height: Uneven surfaces can cause the board to slip or tilt, creating a fall risk. Adjust the bed, chair, or wheelchair so both surfaces are as level as possible.
- Lock All Brakes: An unsecured wheelchair or bed can roll away mid-transfer, leading to a serious fall. Double-check that all wheelchair brakes are engaged and any rolling furniture is locked.
- Clear the Path: Obstacles, rugs, or clutter can get in the way of the transfer or cause a trip hazard. Move any potential obstacles out of the way to create a clear, open space.
- Secure Board Placement: The board needs a firm anchor under the person's hip and on the destination surface. Make sure at least one-third of the board is securely under the thigh/buttocks.
- Dry Surfaces: A wet board or clothing can cause slipping or, conversely, create too much friction. Ensure the board, clothing, and both surfaces are completely dry before you start.
Taking just 30 seconds to go through these points is crucial for a safe and smooth transfer.
The Benefits Beyond The Movement
The advantages of a transfer board go way beyond just getting from point A to point B. For many people, it represents a major step toward having more control and autonomy in their daily lives.
- Promotes Independence: It gives individuals the power to handle transfers with less help, or sometimes all on their own, once they’ve built up enough upper body strength and had proper training.
- Reduces Caregiver Strain: By taking heavy lifting out of the equation, caregivers are protected from back injuries and physical fatigue. This makes caregiving much more sustainable in the long run.
- Increases Safety and Reduces Falls: That stable bridge the board creates is a secure platform, drastically cutting down the odds of an accidental slip or fall during a transfer.
- Versatile for Daily Activities: These boards aren't just for moving from a bed to a wheelchair. They're incredibly helpful for getting in and out of a car, using the toilet, or moving to a shower chair, making everyday routines feel much more manageable. For more on mobility options, check out our resources on wheelchairs in St. Petersburg, FL, for rentals and sales.
The goal is to make every transfer a smooth, confident, and routine part of the day. A transfer board provides the structure and support to make that a reality, turning what could be a moment of anxiety into an act of empowerment.
Here at Affinity Home Medical Equipment, we are dedicated to helping you find the right tools for your specific situation. Please be aware that as a direct-to-consumer provider, we do not work with insurance. This model allows us to offer clear, upfront pricing without the hassle of insurance billing, so you can get the equipment you need quickly and simply.
Setting the Stage for a Safe Transfer
A good transfer isn’t just about the movement itself; it’s about what you do before anyone starts to slide. Taking a few moments to properly set up the space can turn a potentially stressful event into a smooth, confident maneuver. Think of it like a pilot’s pre-flight check—every step is simple on its own, but together they ensure safety.
The whole idea is to create a clear, stable, and predictable environment. Getting this right from the start makes a world of difference for both the person being transferred and the caregiver helping them.
Aligning The Surfaces
Your first job is to create a bridge that’s as level as possible. When the wheelchair and the bed (or car seat) are at different heights, the transfer board creates an angle. That angle either makes you fight gravity or risks an uncontrolled slide, neither of which is safe.
Try to get both surfaces to the exact same height. If you're moving from a wheelchair to a hospital bed, this is often as simple as raising or lowering the bed. For a tricky car transfer, you might need to adjust the power seat or even add a firm cushion to the lower surface to bring it up to level.
Key Takeaway: A level transfer is a safe transfer. An incline increases the risk of the board slipping or the person sliding too fast. A slight downward slope from start to finish is okay—it can even help—but never, ever try to transfer uphill.
Securing Your Space
Once the heights are matched, lock everything down. Nothing should move, slip, or slide unexpectedly during the transfer. This step is absolutely critical.
- Lock All Wheels: Always engage the brakes on the wheelchair or transport chair. Give it a little nudge to make sure the brakes are truly holding firm.
- Stabilize Furniture: If the bed is on wheels, lock them. If you’re transferring to a lightweight chair, it’s a good idea to push it firmly against a wall so it can’t slide away.
- Clear The Pathway: Look around and remove any obstacles on the floor. Get rid of throw rugs, stray shoes, and power cords. Anything that could trip up the caregiver or block the wheelchair needs to go.
Failing to secure the space is like trying to land a plane on a runway that's covered in obstacles. It’s a recipe for disaster. A stable foundation is non-negotiable for a safe "landing."
Prepping the Person and the Board
With the environment ready, the last few details involve the person and the board itself. These small things are easy to forget but are key to preventing skin irritation and ensuring the board stays put.
First, help the person scoot forward to the edge of their seat, getting their feet flat on the floor if they’re able. They should then lean their upper body away from where they're going. This little lean lifts the hip and makes just enough room to slide the board underneath them properly.
What someone wears can make a surprising difference. Silky or nylon fabrics can be too slippery, causing an uncontrolled slide. On the other hand, some materials can create too much friction. The goal is comfortable clothing that allows for easy movement without sticking. Important: Bare skin should never make direct contact with the transfer board, as this can easily cause friction burns or skin tears.
Finally, give the board a quick check. Make sure it's clean and totally dry, as any moisture can make it dangerously slick. For those who only need equipment like this for a short recovery, looking into St. Petersburg medical equipment rentals can be a great, cost-effective alternative to buying.
It's also worth mentioning that we work directly with our customers, which means we do not accept insurance. This direct-to-consumer model allows us to offer simple, transparent pricing without the delays and headaches that often come with insurance billing.
Executing the Seated Sliding Transfer
Now that you've prepped the area and completed your safety checks, it's time for the transfer itself. This is where your careful preparation pays off. The goal is a smooth, controlled slide—not a frantic lift. Getting this part right makes every transfer a low-stress, routine event for everyone involved.
The secret is using upper body strength to shift the lower body across the board. Think of it as a guided slide. For caregivers, your role is to assist and stabilize, not to do the heavy lifting. This protects your back and helps the person you're caring for stay involved and in control of their own movement.
Getting the Board Positioned Just Right
The first move is placing the board, and this step is critical for creating a solid, reliable bridge.
- Start by having the person lean their upper body away from where they're going. This slight tilt is all it takes to lift their hip just enough to create the space you need.
- Gently slide one end of the transfer board under their raised thigh, making sure it’s tucked securely beneath their buttocks. You're aiming for a snug fit.
A good guideline is to have the board cover about one-third of the surface they're starting from. The other end should rest firmly on the destination, whether that's a bed, car seat, or chair. The board should feel solid, not wobbly. And remember, never place the board directly on bare skin. The friction from sliding can easily cause painful skin tears or burns.
The "Nose Over Toes" Secret
With the board firmly in place, the slide can begin. The single most effective technique for this is what therapists call the "nose over toes" principle. It's a cornerstone of safe patient handling because it uses natural body mechanics to make the transfer easier.
The person transferring should lean their head and shoulders forward, as if they're trying to touch their nose to their toes. This forward lean naturally makes their hips and buttocks lighter, making them much easier to slide. It's the engine that powers the whole movement.
At the same time, they should use their arms to push, not pull. One hand can rest on the board while the other pushes off the starting surface (like a wheelchair armrest) to create leverage. This isn't one big heave—it's a series of small, controlled scoots across the board.
For family caregivers, this can feel a bit backward at first. I remember working with a client, Sarah, who was struggling to help her husband.
"I was trying to lift his hips, and it was just exhausting for both of us. The therapist showed us the 'nose over toes' lean. The first time he did it, he slid halfway across the board with almost no effort from me. It changed everything."
This simple adjustment in posture can reduce the physical effort needed by up to 50% for both the person transferring and the caregiver assisting them.
A Caregiver’s Guiding Hand
As a caregiver, your main job is to guide and stabilize, not lift. Stand in front of the person, always bending at your knees and keeping your back straight to protect it from strain. You can place your hands lightly on their hips or use a gait belt to help guide their movement across the board.
Your presence provides stability and confidence. Use clear, encouraging words like, "Okay, on three, let's do one small slide," or "Great, lean forward and push." This helps sync up your movements and reassures the person that they're safe. Your steady hand keeps their hips from twisting and ensures their momentum is smooth and forward.
This three-step visualization sums up the foundational prep work that makes the slide possible.
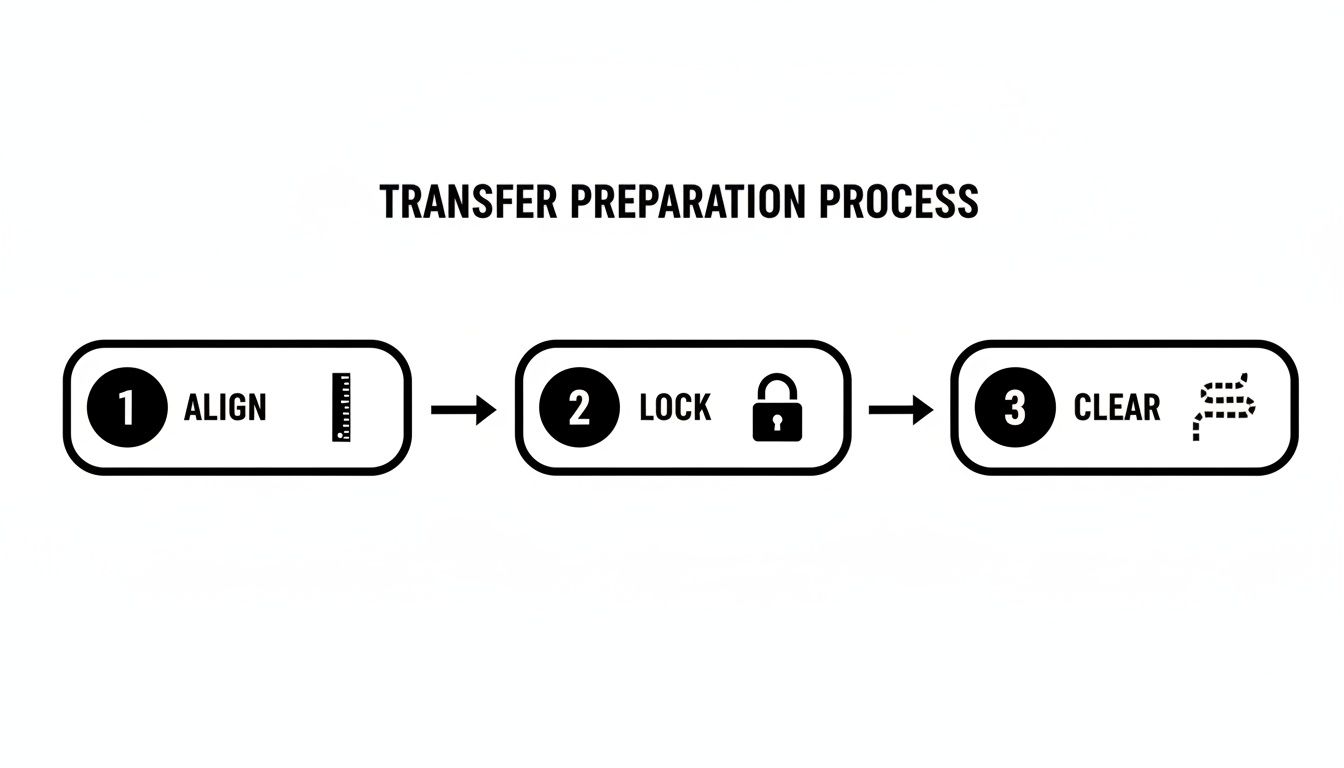
These core actions—aligning surfaces, locking brakes, and clearing the path—are the non-negotiable first steps before the board even comes out.
Completing the Transfer Safely
Continue the process with small, manageable scoots until the person is fully and securely on the new surface. Don't rush the landing. Once they're safely seated, have them lean to the side so you can smoothly slide the transfer board out from under them.
- Final Position Check: Make sure they are centered and comfortable, not perched on the edge.
- Remove The Board Promptly: Leaving the board in place is a trip hazard. Get it out of the way as soon as the transfer is done.
- Reposition Feet and Belongings: Help them get their feet situated and place any necessary items within easy reach.
The entire sequence, from placing the board to the final adjustments, should feel fluid and unhurried. With a little practice, it becomes a natural rhythm. The right equipment, like an adjustable bed, can make aligning the surfaces much simpler. For our local customers, you can explore options in our guide to hospital beds in St. Petersburg, FL.
Finally, we want to be transparent with our customers: we operate on a direct-to-consumer basis and do not work with insurance. This model allows us to offer straightforward, fair pricing on all our equipment, so you can get exactly what you need without the headache of complex billing.
Going Beyond the Basics: Adapting to Real-World Transfers
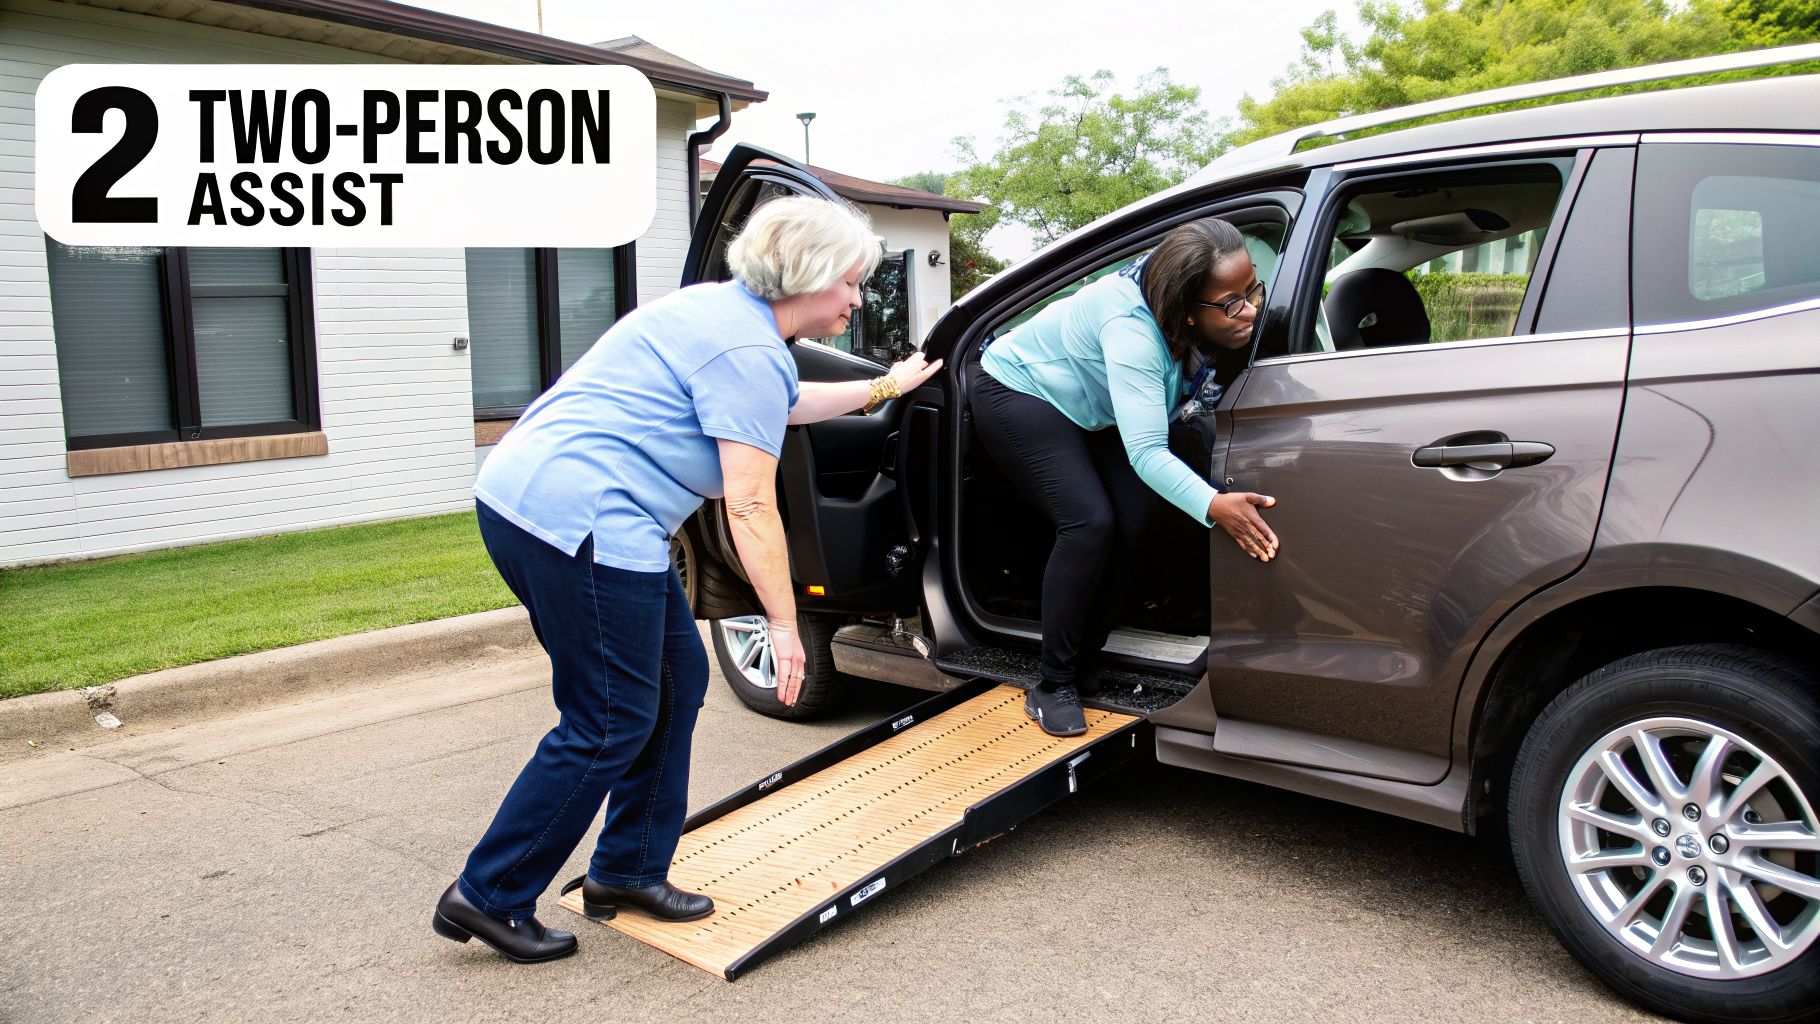
While mastering the basic seated slide is a huge step, life rarely happens in a perfectly staged environment. You’re going to run into tricky angles, uneven surfaces, and times when another person's help is absolutely necessary for a safe move.
Knowing how to adapt your technique is what separates a stressful transfer from a confident one. It's about being prepared for tight bathroom corners, slippery surfaces, and coordinating with another caregiver to make everything go smoothly.
When Two Caregivers Are Better Than One
Some situations just call for an extra pair of hands. A two-person assisted transfer is often the safest bet if the person you're helping has limited upper body strength, struggles with trunk control, or gets dizzy easily. It dramatically increases stability and takes a lot of the physical load off of everyone.
The secret to a successful two-person transfer is clear communication and defined roles. Before you even think about moving, you need a quick huddle. Decide who will take the lead—this person gives all the verbal cues—and what each person’s job is.
-
Caregiver One (The Leader): This person is almost always in front, facing the individual. Their job is to manage the "nose over toes" lean and guide the hips across the board. They call the shots, using simple commands like, "Ready? We'll slide on three. One, two, three."
-
Caregiver Two (The Supporter): Usually positioned behind or to the side, this person’s main focus is supporting the upper body. They keep the person from leaning back and can help lift the hips just enough to reduce friction as they slide.
This team approach turns what could be a wobbly, nerve-wracking transfer into a controlled, secure maneuver.
Navigating Tricky Spaces and Surfaces
Real-life transfers don't happen in a pristine clinic. You'll be using your board to get into cars, onto toilets, and in and out of shower chairs. Each one has its own quirks.
Car Transfers
Getting into a car can feel like one of the toughest challenges. The space is cramped, the door is an obstacle, and the car seat is often much lower than the wheelchair.
- Create Space: Start by pushing the car seat all the way back and reclining it a bit. This opens up your work area considerably.
- Mind the Angle: Get the wheelchair as close as you can, positioned at a slight angle to the open car door.
- Bridge the Gap: Sometimes a standard board isn’t long enough. A longer transfer board can be a game-changer for covering the awkward gap created by the car’s door frame.
Bathroom and Shower Transfers
The bathroom is a whole different ballgame because of one thing: water. Wet surfaces are slippery surfaces, so safety has to be your top priority.
- Dry Everything: Before you begin, wipe down the transfer board, the wheelchair seat, and the shower chair or commode. Don't skip this.
- Secure Your Footing: Place non-slip mats on the floor to make sure the caregiver won’t slip.
- Try a Towel Trick: In humid bathrooms, skin can stick to plastic boards. Placing a thin, dry towel over the board can prevent this and absorb any stray moisture.
"The first shower transfer we attempted was a wake-up call. The board felt slick, and we both got nervous. Now, we have a routine: everything gets wiped down, a non-slip mat goes on the floor, and we take our time. That preparation makes it feel safe every single time."
Knowing When a Transfer Board Isn't the Answer
A transfer board is a fantastic tool, but it’s not right for every person or every situation. Being able to recognize its limitations is just as important as knowing how to use it well.
A transfer board is probably not the right choice if the person:
- Cannot bear any weight on their arms. The sliding motion depends entirely on the ability to unweight the hips by pushing with the arms.
- Has poor sitting balance that can't be safely managed by a caregiver.
- Is unable to follow simple instructions due to cognitive impairment.
- Is recovering from a hip fracture or surgery where their doctor has advised against the lateral sliding motion.
In these instances, other equipment like a patient lift (often called a Hoyer lift) or a stand-assist device is a much safer alternative. It's always a good idea to discuss mobility challenges with a professional. Exploring different solutions, like those found in our St. Petersburg mobility scooters sales and rentals program, can help you find the best fit for your needs.
Lastly, just a quick note for our local customers: we operate as a direct-to-consumer business. This means we don't bill insurance, which allows us to offer straightforward pricing and keep the buying process simple for you.
Troubleshooting Transfer Board Challenges
Even with the best technique, things can sometimes go sideways during a transfer. The board might shift, or the person you’re helping might feel a pinch. This is completely normal, so don't panic.
Think of these little hiccups as feedback. They're not failures; they're chances to make a small adjustment that can make all the difference. Learning to troubleshoot on the fly is what turns a good caregiver into a great one and builds trust for everyone involved.
When The Board Slips Or Moves
One of the most unnerving things that can happen is feeling the transfer board shift mid-move. It instantly creates a sense of unease and can be a real safety hazard. Luckily, the cause is usually pretty simple to identify.
Most often, the culprit is a height mismatch between the two surfaces. Trying to slide someone uphill, even slightly, is a recipe for trouble—gravity will work against you and can cause the board to slip out. A slight downhill angle is usually okay, but an uphill battle is one you should never fight.
Pro Tip: Take a second to get eye-level with the surfaces and ensure they're as even as possible. If you can’t get them perfectly level, a slight downward slant toward the destination is manageable. Never attempt to transfer uphill.
The surfaces themselves can also be a problem. A slick vinyl wheelchair cushion or certain bedsheets just don’’t offer much friction.
- Quick Fix: A small piece of non-slip rubber matting—like the kind you use to open a stubborn jar—placed under the board can work wonders. It adds instant grip right where you need it.
- Check The Board: Flip your transfer board over. Some have built-in grip strips, which can wear down over time and lose their stickiness.
Addressing Pinching And Skin Discomfort
"Ouch! It's pinching my skin!" If you hear this, stop and address it immediately. This isn't just about comfort; it can cause painful skin tears, a significant risk for older adults or anyone with fragile skin.
This almost always happens when bare skin drags directly across the board's surface. Clothing can also get bunched up, creating folds that pinch and add pressure.
Here are a couple of tried-and-true tricks to prevent this:
- Create a Barrier: A thin, folded pillowcase or a small towel placed over the board is a game-changer. It creates a smooth layer that slides with the person, virtually eliminating friction against their skin.
- Smooth Things Out: Before they move, do a quick check to make sure their shirt and pants are flat and smooth underneath them.
- Check Their Lean: Remind them to lean forward—"nose over your toes." This simple move lifts their hips just enough to take the pressure off during the slide.
Overcoming Uneven Surfaces And Gaps
Let's be realistic—you won't always have a perfect, level setup. Car transfers are notorious for this, with door frames and awkward gaps creating obstacles. The mission here is to create the sturdiest bridge you possibly can.
If you're dealing with a small vertical lip, like the edge of a shower stall, make sure the board is resting securely on the highest point. When you have a gap to span, a good rule of thumb is to have at least one-third of the board's length firmly anchored on each surface. If it feels wobbly, don't risk it. Reposition and try again.
It's also a good habit to regularly inspect your board for any cracks, splinters, or signs of wear. A damaged board is an unsafe board, period. It needs to be replaced immediately.
For more answers to common questions about medical equipment, you can always check out our detailed FAQ page for helpful information. As a reminder, we are a direct-to-consumer provider and do not work with insurance, which allows us to provide clear, upfront pricing on all our products and rentals.
Frequently Asked Questions About Transfer Boards
When you're new to using home medical equipment, it's natural to have a lot of questions. We get it. Over the years, we've helped countless families learn how to use a transfer board safely and with confidence. This section covers the most common questions we hear, filled with the kind of practical advice that only comes from experience.
Let's clear up the confusion, from picking the right board to knowing when it's safe to go solo, so you can move forward with peace of mind.
How Do I Choose The Right Size And Type Of Transfer Board?
Getting the right board from the start is the most critical part of setting yourself up for a safe transfer. Think about the gap you need to cross—that's your main consideration. If you're moving from a wheelchair to a car seat, for example, you'll need a longer board to bridge that wider space. For closer moves, like getting from the bed to a commode right next to it, a shorter board will do the trick.
But length is just one piece of the puzzle. You also need to look at the board's design and what it’s made of.
- Bariatric Boards: These are your heavy-lifters. They're built wider and stronger to support higher weight capacities without flexing or failing.
- Curved Boards: Ever seen an S-shaped board? That curve isn't just for looks. It's brilliantly designed to help you get around fixed obstacles like a wheelchair's armrest or wheel.
- Material: Classic wooden boards are incredibly sturdy and have a smooth, sealed finish for an easy slide. Plastic boards, on the other hand, are lightweight and a breeze to clean.
Honestly, the best move you can make is to talk with a mobility specialist. They can look at your specific situation—your body type, your strength, and the exact transfers you'll be making—and match you with the perfect board.
Can A Person Use A Transfer Board By Themselves?
Absolutely. For many people, this is the ultimate goal. With good upper body strength and solid sitting balance, using a transfer board independently is very achievable and a huge step toward greater freedom. But—and this is a big but—it’s not something you should just try on your own without any guidance.
A solo transfer should only be attempted after you've been properly trained by a physical or occupational therapist. They are the experts who can evaluate your strength, teach you the correct form, and ensure you’re not taking any unsafe shortcuts.
Once you’ve practiced with a helper and feel you’ve mastered every single step—from locking the wheelchair brakes to placing the board just right and executing a smooth slide—then independent transfers can become a safe, routine part of your day.
What Is The Best Way To Clean And Maintain A Transfer Board?
Keeping your board in good shape isn't just about hygiene; it's a critical safety issue. The cleaning process really depends on the material. If you have a wooden board with a sealed finish, a simple wipe-down with a mild disinfectant and drying it thoroughly is perfect.
Plastic boards are a bit tougher and can handle most hospital-grade disinfectant sprays or wipes. The key is to avoid anything abrasive, like a scouring pad, which can scratch the surface. Those scratches create friction and can make sliding much harder and less safe.
Most importantly, give your board a quick once-over before every single use. Check for cracks, deep gouges, or any signs of warping. If you find any damage, the board is no longer safe and needs to be replaced immediately. Understanding the full scope of assistive devices, including learning what is a lift chair and how it works, can help you build a comprehensive plan for staying safe and comfortable at home.
At Affinity Home Medical Equipment, our commitment is to find the right mobility solutions for you. We don’t accept insurance, which allows us to offer simple, transparent pricing on everything we sell. To see our wide selection of equipment and get the expert support you deserve, come visit us at https://affinityhomemedicalequipment.com.
Share This Article

Written by : lori@netcodesign.com
Follow Us
Latest Articles

October 13, 2026

October 13, 2026

October 13, 2026
